


Presenting Kosumo.
Time to build my first pack! The prototyping stage of making this pack is explained in my previous post, and a YouTube video of the build can be found on the main MYOG page.
Specs:
• Capacity: ~40-45l
• Weight: 450 gram / 1 lbs / 16 oz
Materials:
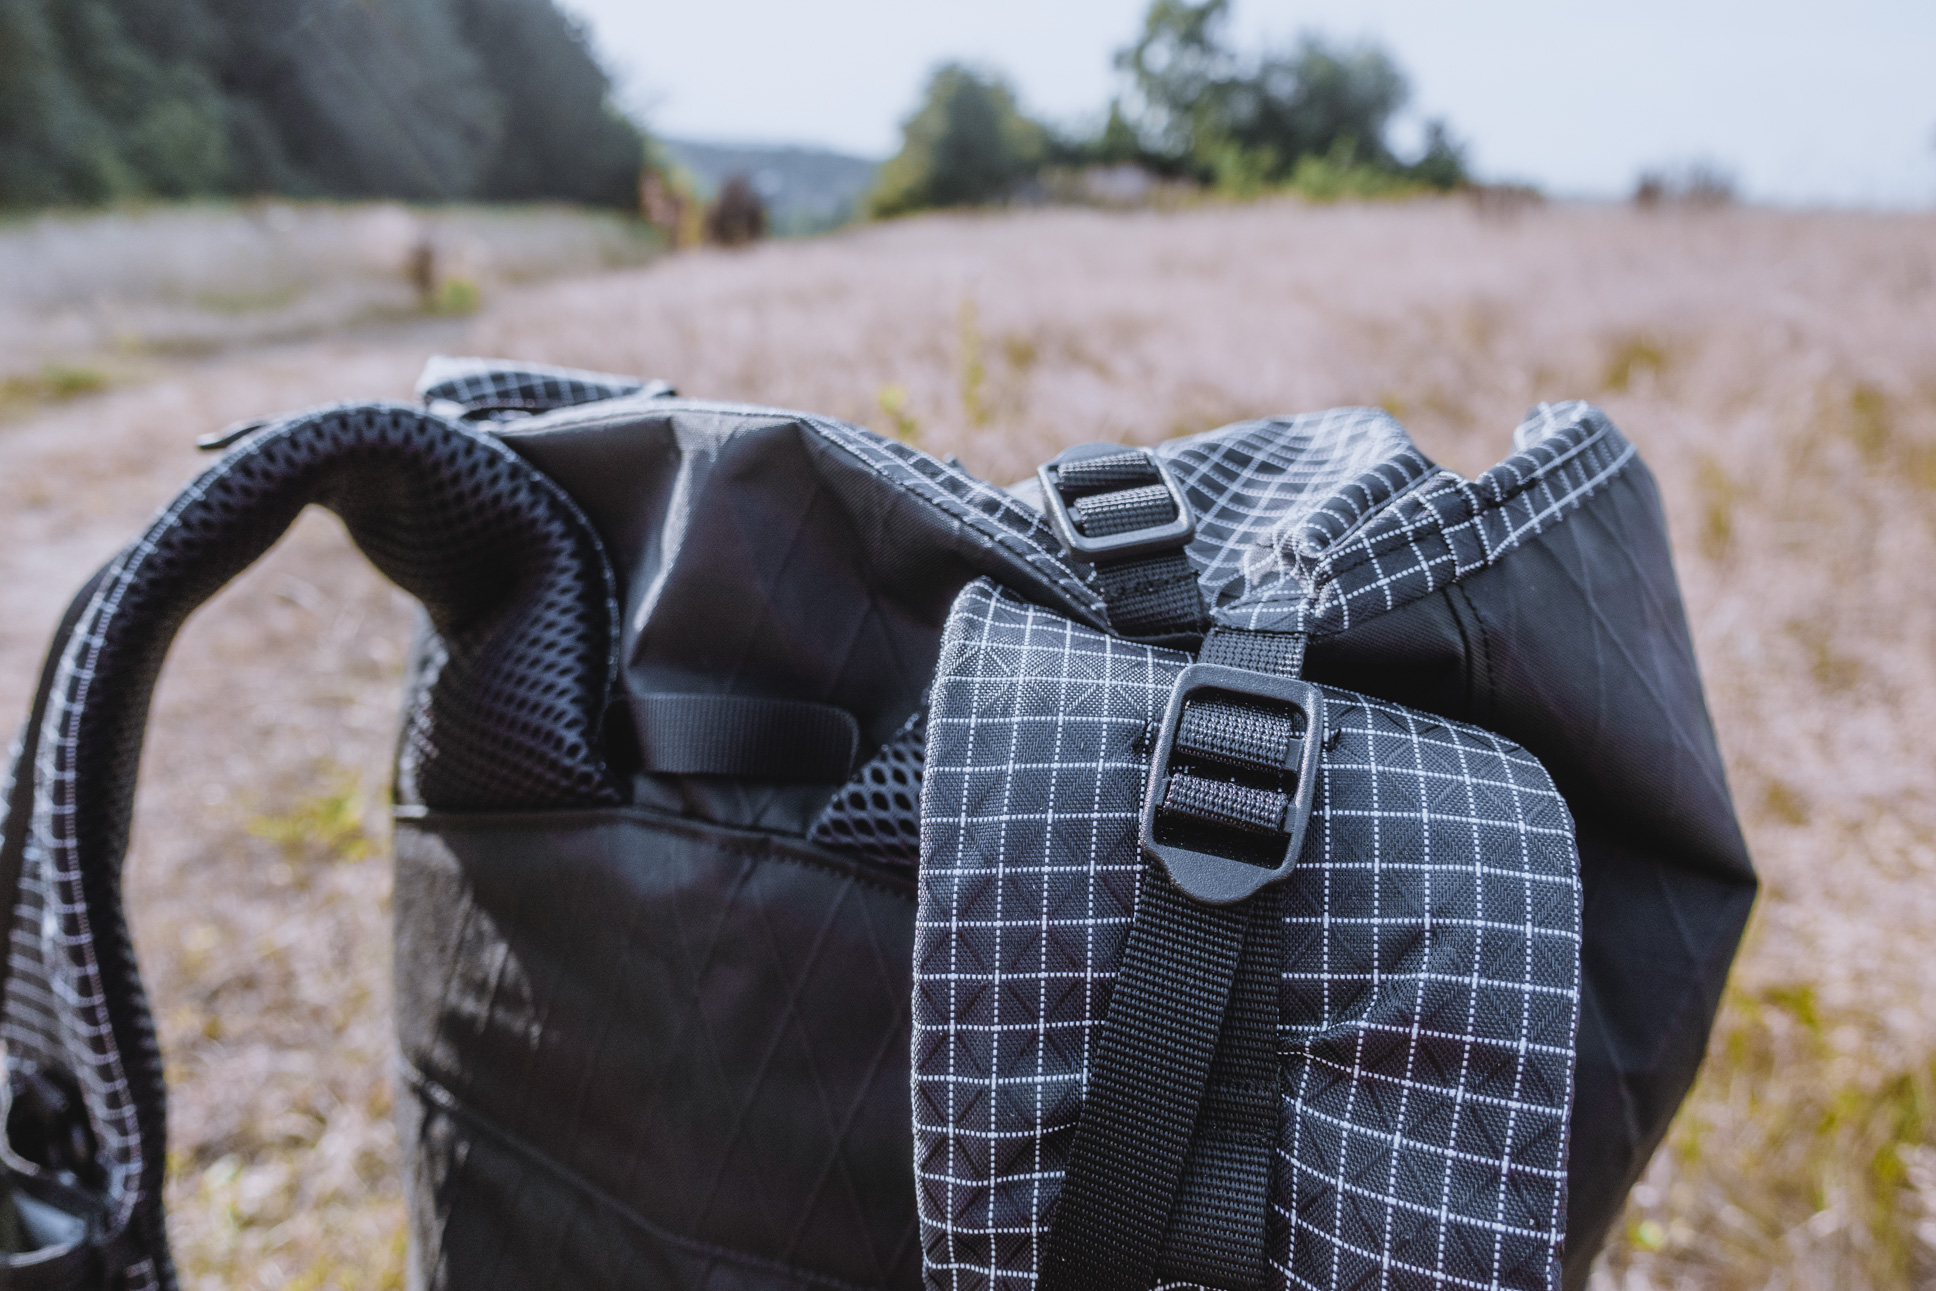
• Main body: X-Pac VX21
• Side pockets / straps / hip belt: 210D Nylon with Dyneema gridstop
• Stretch pockets: Spandex / Polyester blend stretch mesh
• Spacer mesh: 3mm elastic 3D Coolmax mesh
• Internal foam: 4mm Evazote EV50 (sandwich two layers)
• Thread: Gutermann Tera 60 waterproof
• Needles: Schmetz 90/14
• Webbing: 10 / 15 / 20mm polyamide webbing
• Elastics: 20mm edge binding elastic webbing, 1.5mm elastic cord
• Buckles: Ladderlocs, side release buckles, sternum strap, O rings
All materials from Extrem Textil (Germany) and Adventure Xpert (Slovenia)

• The Actual Build
• Tips for Making a Pack
• What I Like About The Pack
• Things I’d Change For The Next Pack
• Why Kosumo?
The Actual Build
Putting the pack together took quite some time. I didn’t want to make any mistakes and waste fabric, so a lot of that time was spent considering options, and gazing at small pieces of black fabric. It’s probably best to watch the video for the details, but I’ll add some key highlights (or really lowlights!) here:
• Hip belt. This turned out to be a bit of a beast. I cut the two layers of 4mm EV50 foam a little smaller than the fabric but it wouldn’t fit. I kept cutting the foam smaller and smaller. Once it fit, the hip belt seemed about 5 cm (2 inches) shorter. I had to unpick the entire thing and make it longer. I didn’t have enough Dyneema gridstop fabric leftover so added X-Pac instead. The second try was too big. So I had to make it smaller, again. In the end I wasted two sets of hip belt shaped foam.
• Sewing machine. My domestic machine did not like the double foam layers and almost died on me doing the bar tacks through the hip belt and shoulder straps. I actually had to sew without a foot to get all the layers in there, which I would not recommend.
• Side pockets. I’d intended to bind the top edge with elasticated webbing, but I didn’t like the look of it – it made the pockets stick out too much when not in use. I unpicked it and threaded two lengths of 1.5mm elastic cord (5-10mm elastic webbing would’ve been better) through a Dyneema gridstop channel, which looked more polished.

• Drainage holes. I added drainage corners to my side pockets, but during construction they mostly disappeared into the seams. Had they been a little bigger they would be more functional.
• Shoulder strap pockets / sternum strap. It’s a good thing I tried on the half-finished pack before adding the sternum strap and pockets, because I thought the sternum would sit above the pockets, which wasn’t the case. I ended up sewing the pockets in a way where one half was integrated into the strap, and the other half was separated. This allowed access to the sternum strap webbing underneath.


• Dyneema gridstop. I ordered 50cm (20”) of gridstop fabric and wish I’d added another 10cm (4”). My extension sleeve is about 25cm (10”) long – all I could get out of the fabric, but it would’ve been nice to make it just a tad longer.

• Finishing seams. None of the fabrics I used fray much, and I decided not to bind the seams on the inside. The only seam tape that (at this moment) works with X-Pac is 3M™ Acrylic Adhesive Transfer Tape 9485, which comes in a 55 m role (approx. 180 ft) and costs £40. So I decided against spending all that money on a roll of tape. Instead I intended to do a semi-felled seam, but mostly just did a top-stitch along the main body of the pack. Getting into the far corners was a bit of a nightmare, but in the end I did manage to add this second seam of protection (in fact it was the third seam, as I double stitched most seams) to the entire pack.
• Attaching the shoulder straps. You can scrutinise the video and watch me despair. Somehow this was impossible to figure out with all of the different layers I had to sandwich. I got it in the end, though.


• V-style hip belt webbing. For some reason I was devoted to trying out V style webbing for the hip belt. I didn’t want to attach ladderlocs on all 4 sides, so only added one on each side. At first I placed them on the top, then moved them to the bottom. Either way, I don’t think the V style webbing was necessary with regards to comfort, but I like the way it looks. Annoyingly I didn’t attach the webbing to the hip belt at the right angle and had to unpick layers and layers of secure stitching, which took hours.
• Ice axe loops. I wanted to make an allowance for ice axe loops but I didn’t want permanent attachments dangling down the pack when I don’t use them (which will be most of the time.) So I sewed two small loops of webbing into the side and bottom of the front pocket, which I can use to string through elastic cord with a cord lock, when needed.

Tips for Making a Pack
• Get a lighter. Or a candle. Being able to singe the fraying ends of webbing and thread seemed the key to keeping this pack clean and together.
• Buy more webbing and buckles than you think you need. If you’re like me, you don’t want to waste extra buckles, but if you’re also like me, you end up changing your mind about little things and decide that ‘10mm is really thin and 15mm will actually look cuter’ which you hadn’t expected. If you get a few spares, you can allow for aesthetic changes and also design changes. I ran low on webbing despite buying extra, and my Y-strap is pretty minimal because of it. I hope bear cans are not in my future.

• Speaking of webbing – get the good stuff. I purchased additional webbing during the build but ordered the wrong type. I got polypropylene, which is horrible and cheap looking. The original polyamide however, was great.
• X-Pac is an amazing material and great to cut and sew. The Dyneema gridstop is great too, but the Dyneema threads are difficult to cut. You can try a rotary cutter with a cutting mat but I hear it’s a little tricky either way. So take your time.

• In fact, take your time with everything. Unpicking is annoying and can be difficult. You also don’t want to stitch an incorrect line somewhere as puncture holes in X-Pac will be visible forever.
• Check your gear fits as you design the pack. For example, I usually keep flip flops in my front pocket and elongated the initial design to accommodate them.
• Double check the pack still fits as you sew it. The different fabric and the addition of thick layers of internal foam will change the way the pack sits compared to your prototype. You might realise something doesn’t quite work the way it did.

• If your hips are wider than your waist: CURVE YOUR HIP BELT. It will allow the belt / pack to rest on your hips, rather than dig into it. I don’t know why no-one else is doing this?
• Figure out the correct way to insert foam into shoulder straps and save yourself a lot of heartache and time! (Difficult to explain but let’s try: Keep the shoulder strap sleeve inside out, pinch the end around the end of the foam, slowly unwrap the strap over the foam.)

• If you use several layers of foam like me, consider where you might only need one layer and where you really need two. My shoulder straps have two layers where they curve around my shoulders and one where the pocket is attached. It helps keep the shape of the original design and of course it saves on weight.

What I Like About The Pack
• The size fits my body, and the straps and hip belt are really padded and comfortable despite the pack being so light.
• The simple, sleek elasticated hip belt pockets allow my arms to swing without getting in the way. It does mean I need to add the questionable fanny pack. But that just means another MYOG project, and that isn’t bad.
• Similarly, the shoulder strap pockets are super cute. They are small but I like just keeping them for small things anyways. They also fit my phone perfectly (but I did purposely design them that way.)

• Easy access to my water bottles in the side pockets. This might seem like an obvious feature, but I wasn’t able to get to the bottles in the MLD Prophet side pockets without bodily acrobatics or taking the pack off, which drove me nuts.
• The elasticated fabric is perfect for the front pocket. It stretches abundantly and fits lots of gear. It seems pretty durable as well. (I believe it’s the same material as the Gossamer Gear front pockets.)
• The materials are amazing and super light. Even after adding lots of foam and all the buckles, the pack weighs much less than expected. I thought with all my bits and bobs it would end up around 700-800 gr, but it’s only 450 gr (1 lbs!)


Things I’d Change For The Next Pack
• Bar tacks. Include lengthwise bar tacks on the shoulder straps. I did lots of smaller horizontal ones but one long one would keep the layers neatly together. Unfortunately my sewing machine can’t handle the additional job right now.
• Wider fabric for the side pockets. I can fit two narrow bottles in one side pocket, but just a few extra centimeters would make them more flexible.
• Sew the shoulder straps a little closer together (less than an inch.)
• Make the torso length a little longer (perhaps an inch.)
• Attach the load lifters about 2 inches higher. This was the one thing that went wrong. The load lifters were perfectly positioned on my prototype, but they’re just too low on the real pack. It wasn’t a problem when I did a late-Summer multi-day hike here in the UK, but I only carried food for a few days, and I haven’t been able to test it with a big load yet.

Why Kosumo?
Finally, why Kosumo? It’s my trail name, in Japanese. I’m not Japanese (although, story is, my sister looked Japanese when she was a baby) but I did first learn about thru-hiking in Japan. As this pack is my first MYOG project and pretty much an extension of me, I thought we should have the same name.
Welcome to the world, Kosumo.
